2 Getting started with a Quarto book
2.1 Create a Quarto book
Follow the Quickstart intstructions for Rstudio from the Quarto documentation to create an empty Quarto book.
2.2 Check the basic settings
Open the _quarto.yml file. Make sure it at least contains something like this:
project:
  type: book
  output-dir: docs              # When rendering, the html files will be
                                # placed in the docs folder. The folder needs
                                # to be named docs in order for GitHub pages to work!

book:
  title: "YOUR BOOK TITLE"
  author: "YOUR NAME"           # Book authors: add a new row for each new author
  date: "YYYY/MM/DD"            # Date of the book, you can also use
                                # last-modified, or today (without quotes)
  chapters:                     # Table of contents
  - index.qmd                   # Home page, should always be index.qmd
  - YOUR-CHAPTER-1.qmd          # Each chapter has its own .qmd file
  - part: "Title of this part"  # You can also introduce sections with subsections with "part"
    chapters:
      - YOUR-CHAPTER-2.qmd
      - YOUR-CHAPTER-3.qmd
  - YOUR-CHAPTER-4.qmd

bibliography: references.bib  # If you want to use a reference manager, we'll come back to this later

format:                       # For open textbooks on the web, we only need html
  html:                       # It's also possible to add pdf, epub and docx if you want
    theme: cosmo              # Default styling, there are many others!
See the quarto-settings chapter for more customization options.
2.3 Make your project a git repository
- In RStudio, go to the Terminal (next to Console) and type
git init. This will turn your project folder into a git repository. - In the terminal, type
git status. This will give you all uncommited changes you’ve made. To commit all these changes at once, type:
git add -A .
git commit -m "Initialize github textbook"- In GitHub, create a new, empty repository
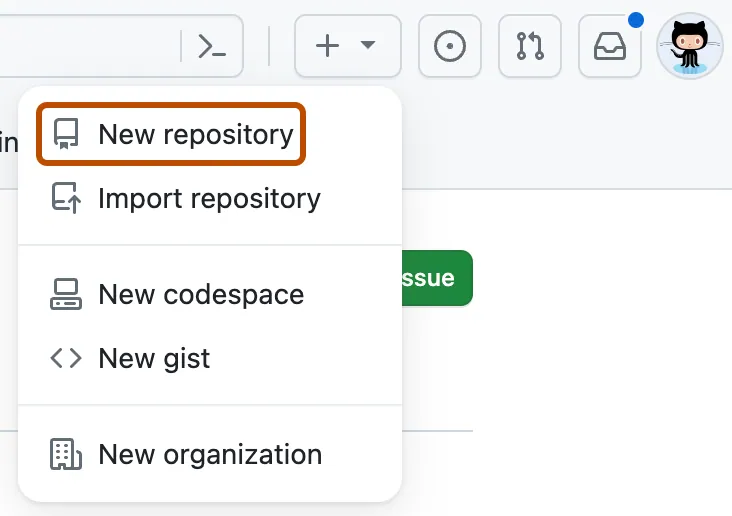
- For owner: choose where you want to create the repository (e.g., under your name or possibly under a GitHub organization).
- For Repository Name, it’s best to use the same name as you named your local Quarto book folder.
- Leave all other options empty for now.
- Click Create repository
- A new empty repository will now be created on GitHub. Now we want to connect this GitHub repository with the repository that you have already made on your local PC. To do so, copy the code that GitHub conveniently already gives you under
or push an existing repository from the command line. For me this looks like this: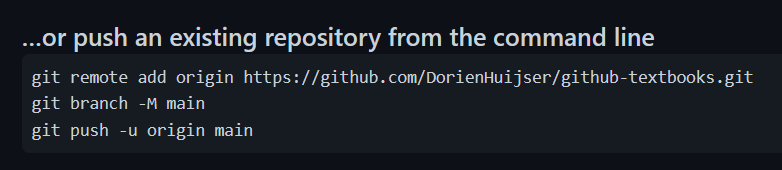 Copy this code in the Terminal in Rstudio, and run it.
 - Practice the git workflow of adding content, comitting the changes, and pushing the changes to GitHub. The basic steps are laid out in the Working with git chapter.
2.4 Host on GitHub pages
Now that you’ve pushed your basic book to GitHub, you need to tell GitHub to host the html files online.
- Navigate to your repository on GitHub (
https://github.com/yourusername/yourrepositoryname). - Go to the repository’s Settings

- Under “Code and automation” in the menu on the left, click “Pages”.
- Under ” Build and deployment”, select:
- Source: Deploy from a branch
- Branch: main
- Select folder: /docs
- Wait a few minutes while your website is being built.
- After a while, GitHub will tell you “Your site is live at
yourusername.github.io/yourrepositoryname”!