Git branching and merging
Overview
| Questions | Objectives |
|---|---|
| What are branches and how to use them? | Understand working in separate branches. |
| Merging a branch with another branch. | |
| Working with Issues and Pull requests. |
What are branches?
A branch is a copy of your project where you can work on a new feature of your code or refine an existing feature in your code. The original copy (or branch) is usually called the “main” (or “master”) branch. When you get started with Git for version control, it is usual to work (add, commit and push) directly on the main branch. When you are more experienced, it makes sense to start working with branches. Branches are used to develop and experiment with new features in your code, and once we know it is working as it should we update the main branch. The advantage of this is that the main branch can then always be a working version of your code. When your development of the new feature is going nowhere, it is easy to go back to the main branch and start over.
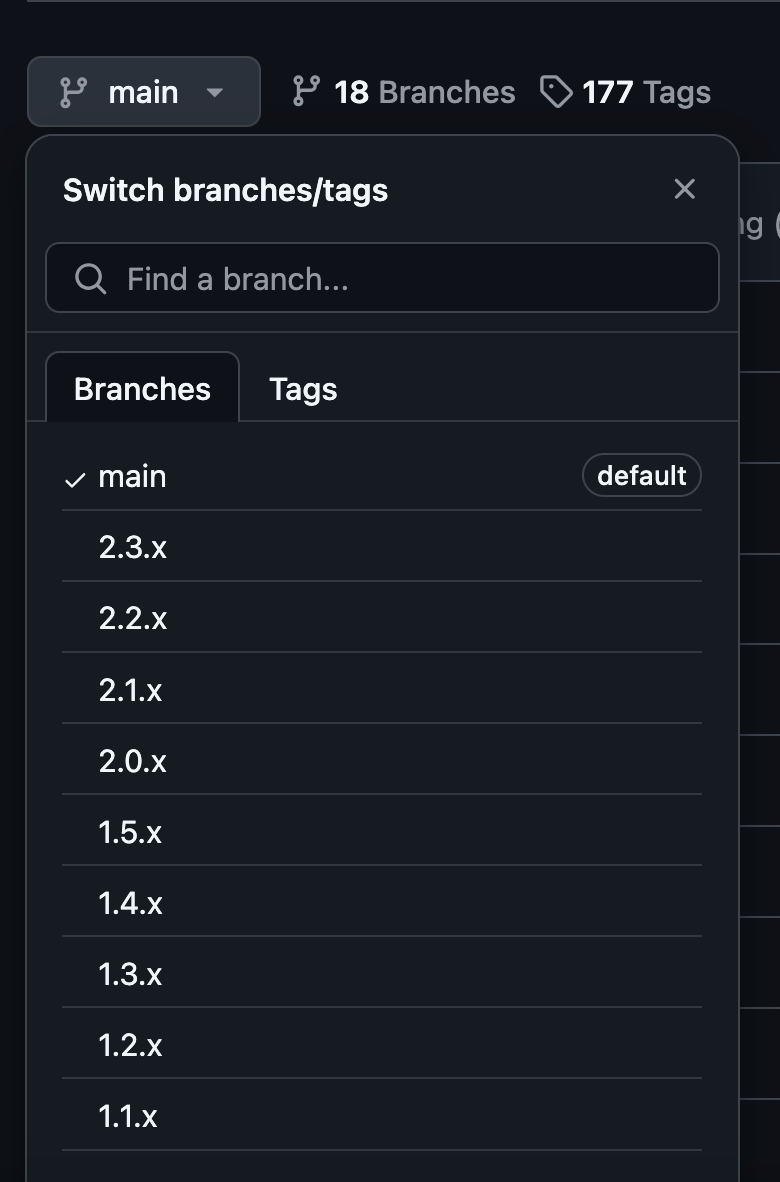
When you view a Git repository e.g. on GitHub.com You can see all branches in the dropdown menu when you click on the button “main”.
To keep your work organized, it is usually a good idea to use a Branch for one purpose, e.g. to work on one specific new feature, or solving one specific issue. In a branch you create new commits that are related to this feature.
In the previous part we created a repository with only one branch, the main branch. Now we want to do this:
Software development is often not linear:
- We typically need at least one version of the code to “work” (to compile, to give expected results, …) –> “Main” or “Master”
- At the same time we work on a new feature, or maybe several features concurrently.
- We need to be able to separate different lines of work really well.
This means that the git history of the project can diverge: different branches will share the first part of their git history but will contain unique commits from the branching point. The strength of Git version control is that it facilitates the researcher to isolate different tracks of work, which can later be merged to create a composite version that contains all changes. With merging you add commits from a ‘feature’ branch to the main branch to work towards a linear Git history. More on that later.
To experiment with branches we will create a “fork” from our recipe GitHub repository:
- Go to this repository
- Click on the Dropdown menu “Fork” and “Create new fork”
- Make sure the box “Copy the
mainbranch only” is checked
Creating a branch
Now we use the web browser to create a new branch in your own recipe repository on Github. You can create a branch in the web browser like this:
- Go to your repository
- Click on “main” (see screenshot above) and click on “View all branches”. Here you can get an overview of all branches and how actively they are used (now there is just one branch).
- Click on “New branch” and give the new branch a name e.g. “cakes”.
We have now two branches, both containing the same files in the remote repository.
Since we only had one branch, the “main” branch, the new branch will automatically be created from the main branch. Once you have more than one branch, you can select from which branch you would like to create the new one.
Working with branches in the web browser
Navigate back to your recipe-book. When you now click on “main”, you will see the second branch. By clicking on the new branch we switch to this branch.
We can now create a new folder “cakes” and a file “chocolate_cake.md”:
- Click on “Add file” and “Create new file”
- In the field to add a name for the file fill in “cakes/chocolate_cake.md”. This will create both the folder and the file.
- Add some contents, e.g.:
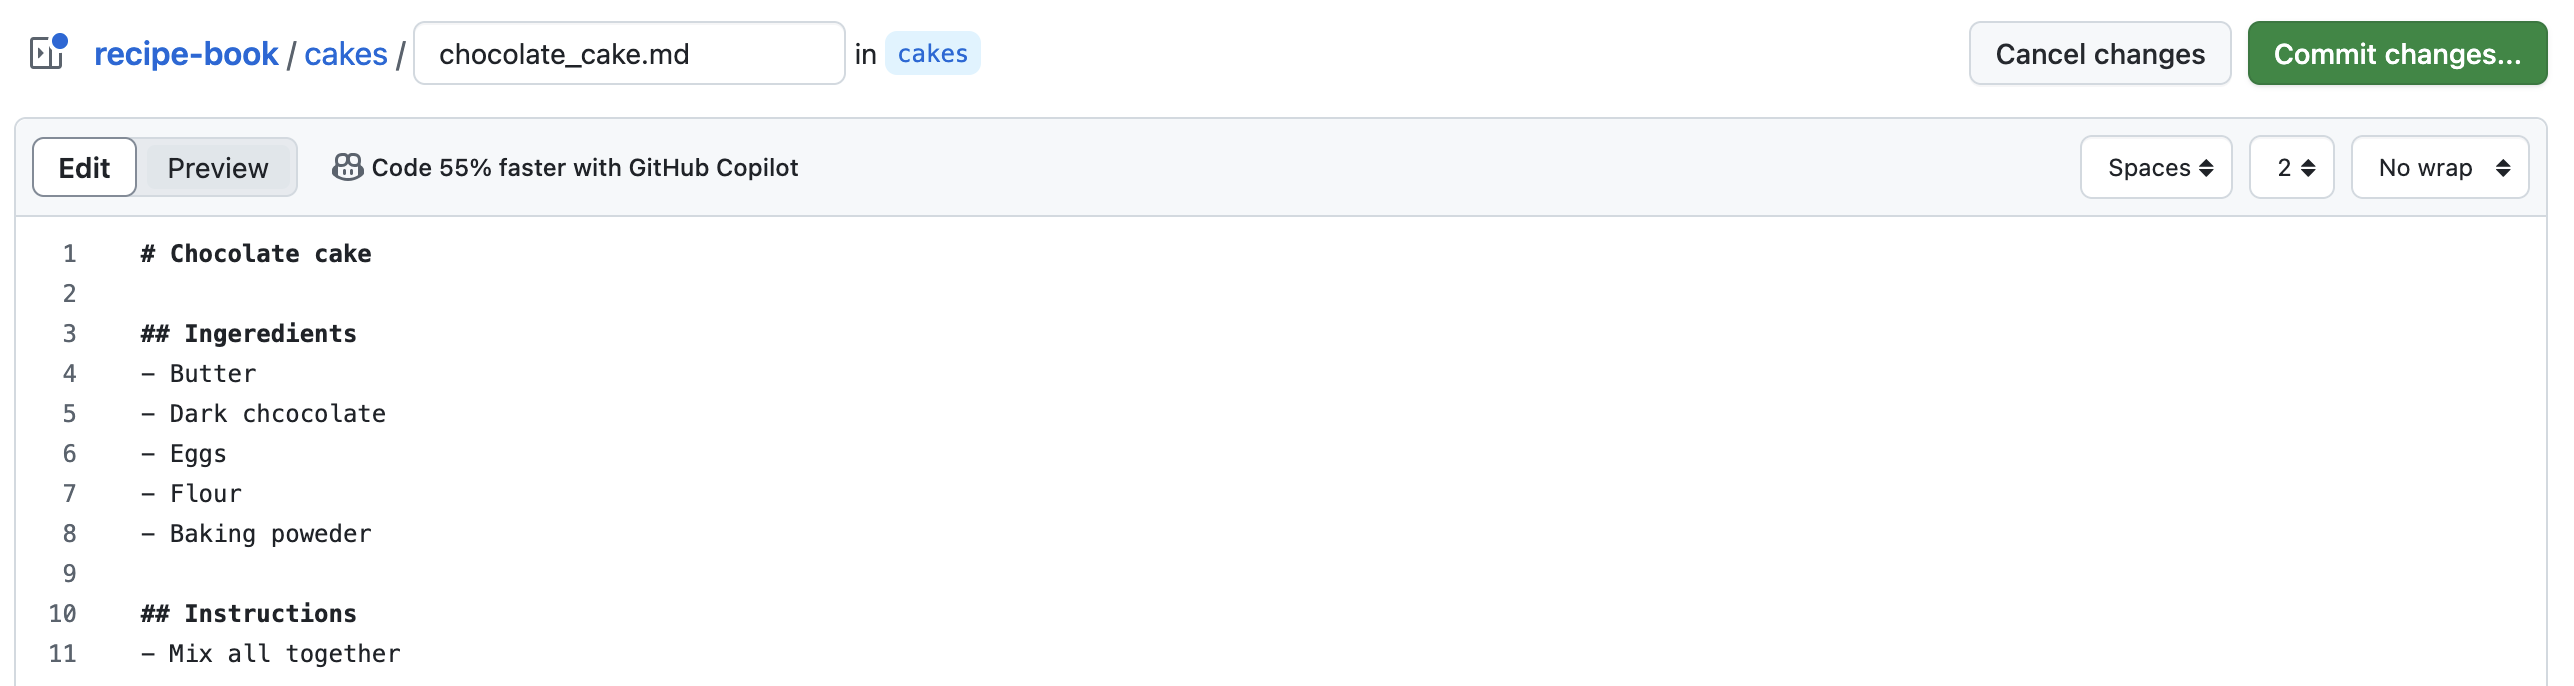
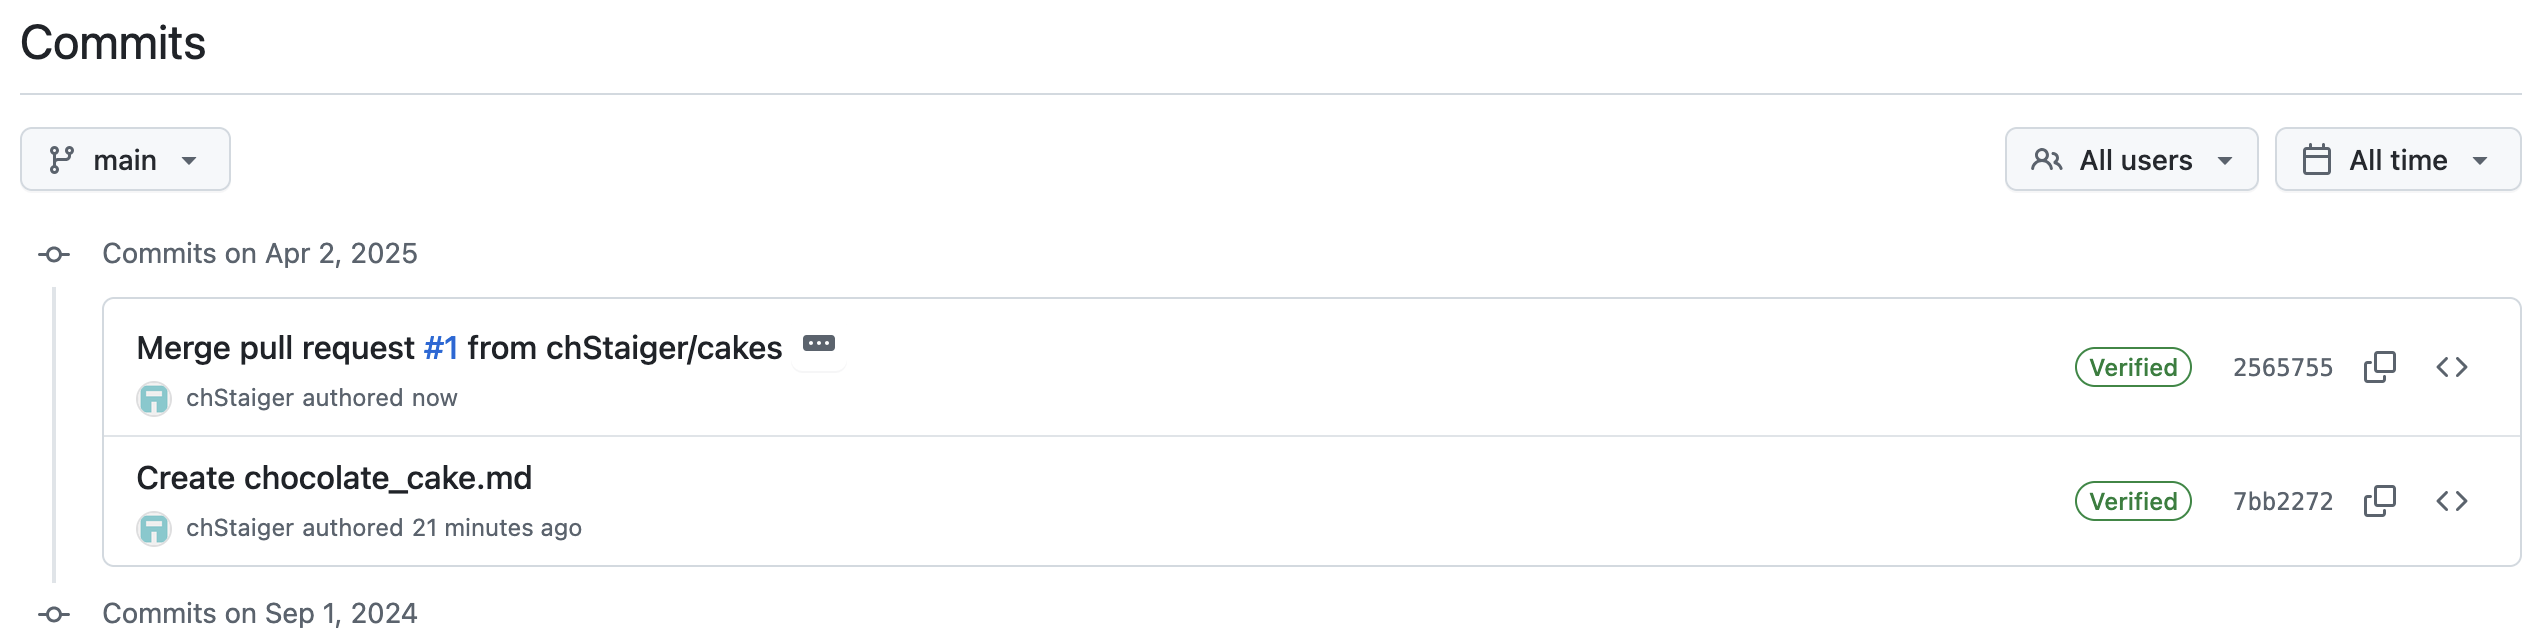
- Commit your changes to the cake branch
You will see the file being committed and rendered. However, if you now try to switch branches to main (click on “cakes” and choose “main”) for this file you will see a “404” error. the file does not exist in the main branch.
Merging the changes into the main branch
How can we now “merge” the new recipe into the main branch? The recommended and most convenient way is to work with so-called “Pull requests” or PRs. Pull requests are a feature of online Git platforms (GitHub, Codeberg, etc.). Pull requests offer the possibility to review, discuss and update proposed changes before merging them into the main branch.
To create a Pull request, click on the tab “Pull Requests” and then on the button “New pull request”.
We can choose now the “base” branch, the target branch that should be updated with changes that have been applied to the “compare” branch.
Select as “base” your main branch and adjust the repository. Since our repository is a “Fork” of an existing repository, GitHub assumes we would like to merge our changes into the repository that we forked our repository from. We can adjust that by clicking on “base repository” and then on our own repository. Next, we set the base branch to “main”. Now we need to choose the compare branch and set that to “cakes”.
You will see the differences between the two branches popping up:
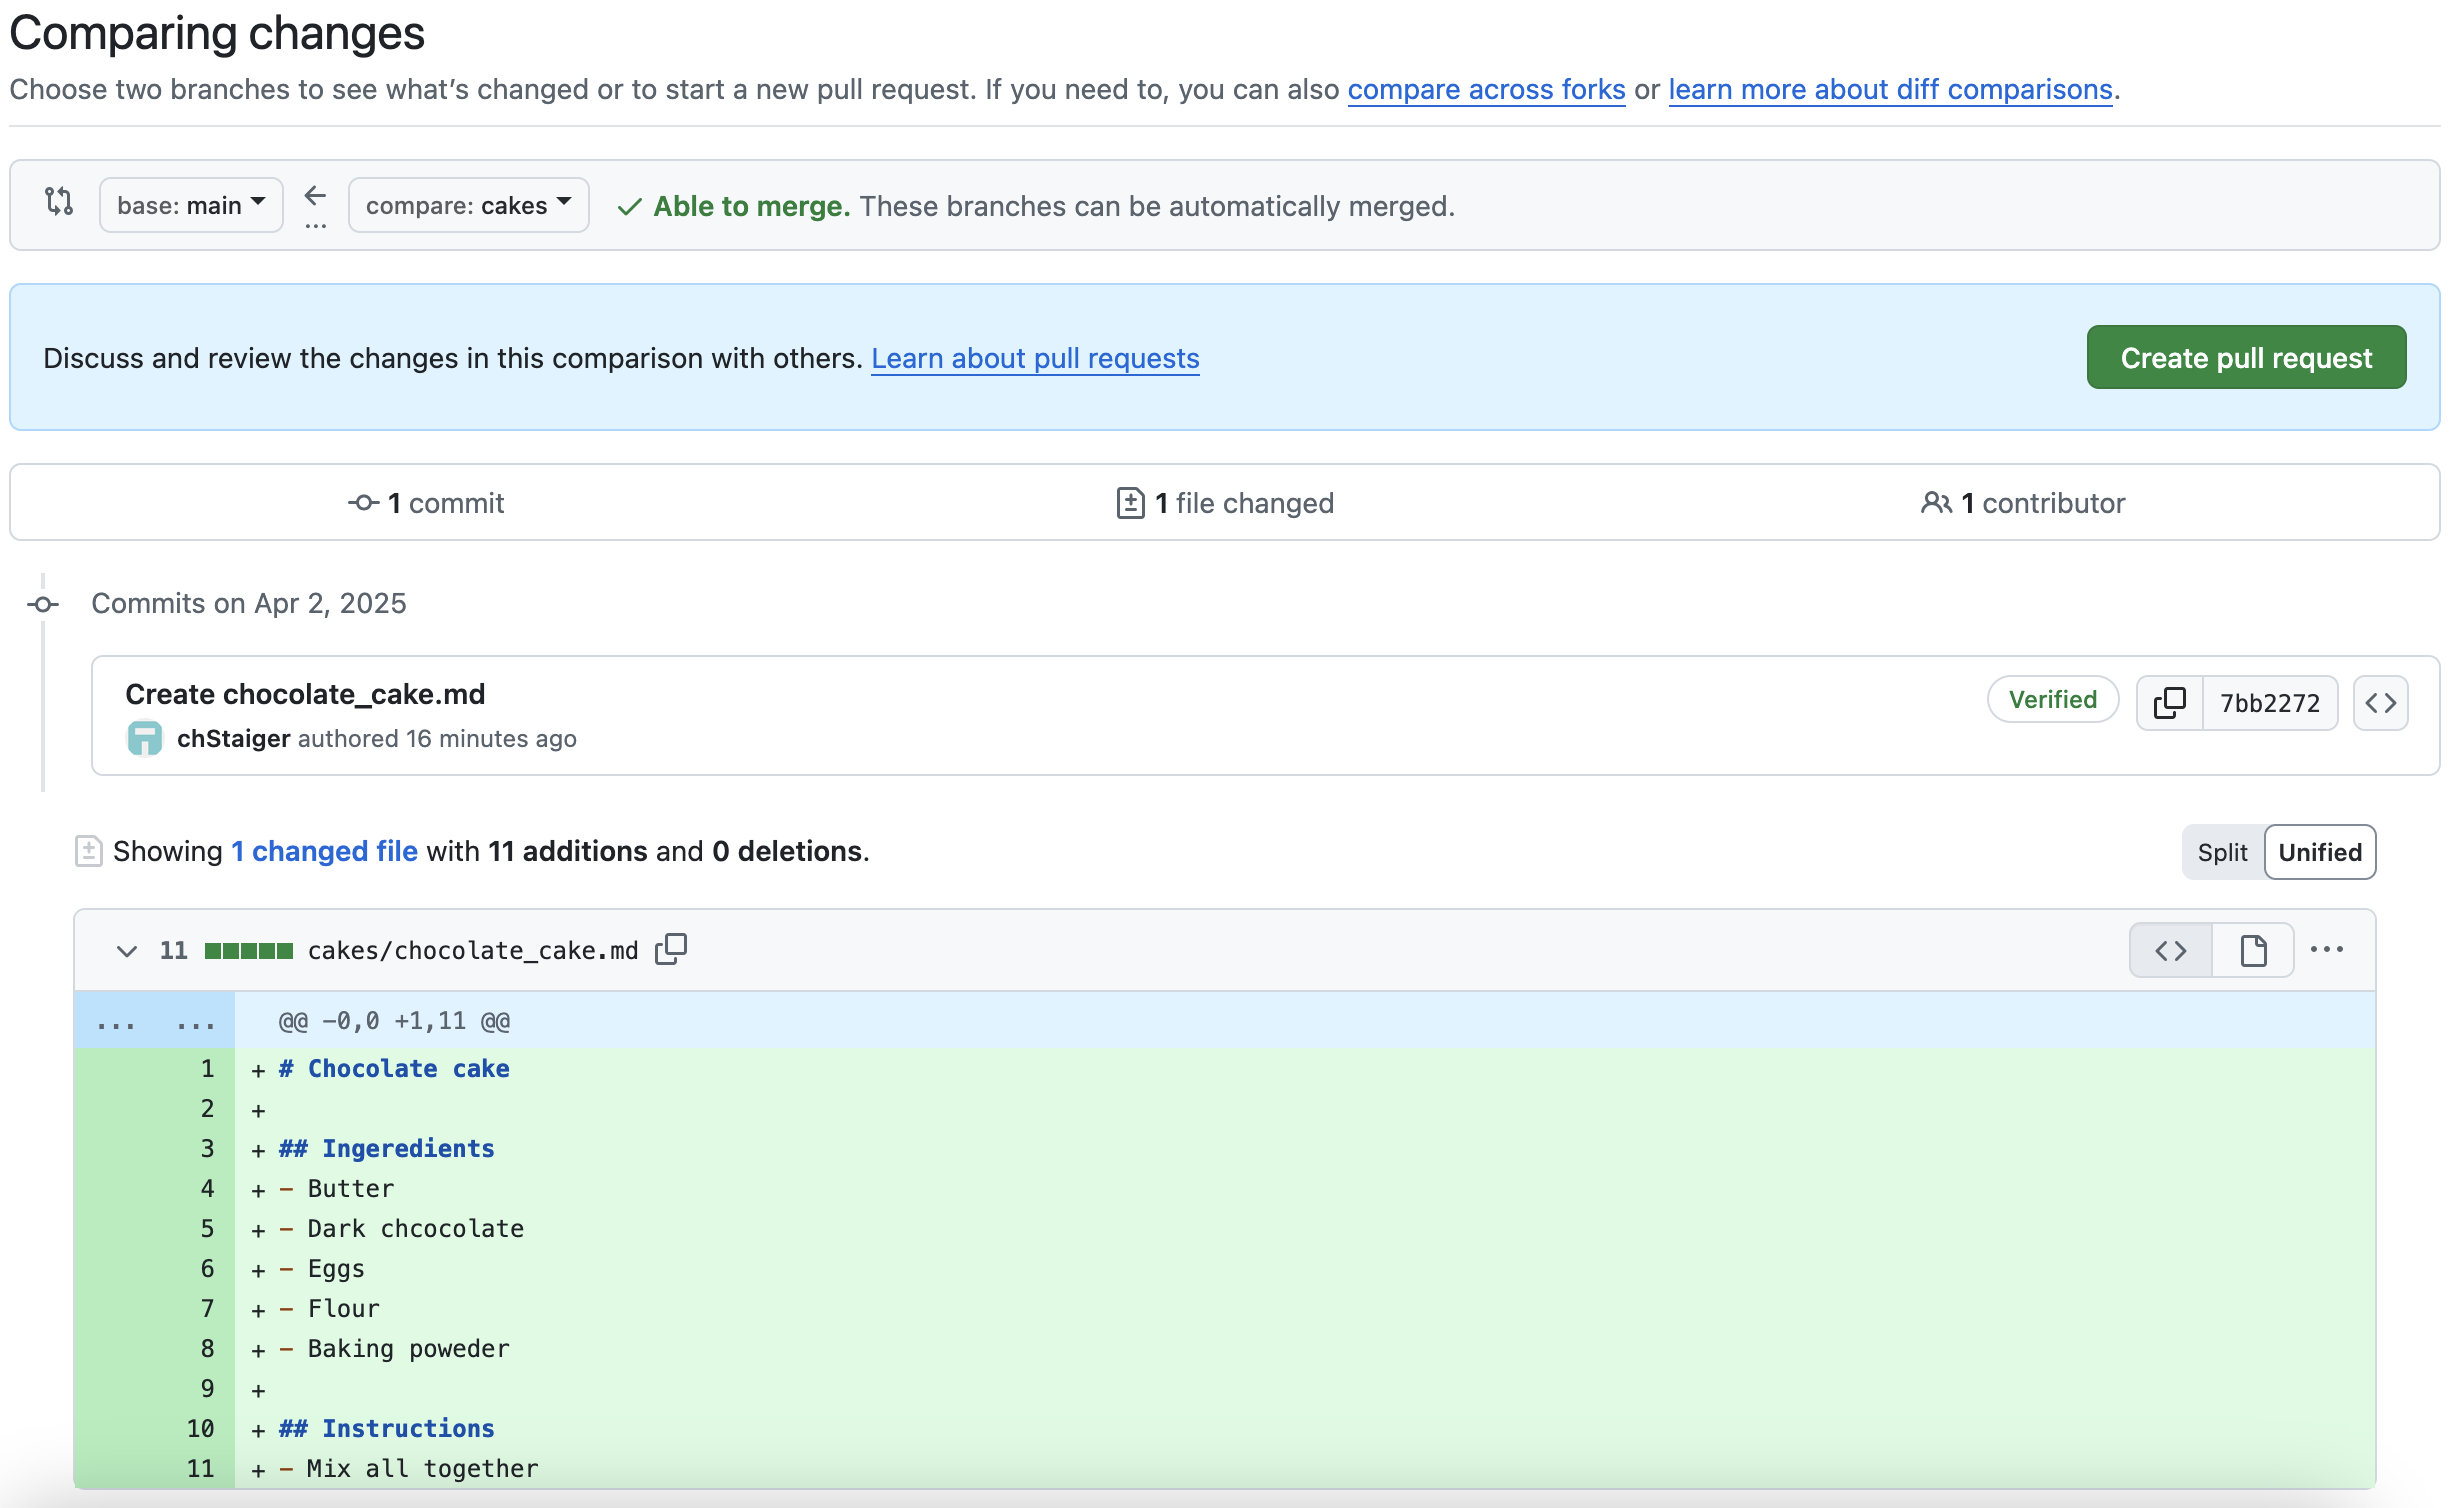
The updated branch contains 11 additions compared to the original: 11 new lines of code/text shown in green. This PR doesn’t have deletions, but if lines of code/text are deleted they will be shown in red with a - sign instead of a + sign at the start of the line. GitHub also informs us whether the changes can be merged without any problems (see top of figure): ✔️ Able to merge
Click on “Create pull request”, give the PR a title and a description. When you are collaborating with others, it is common practice to ask a collaborator to review and/or merge your Pull request. In that case, use the title and description to communicate to your collaborators what this pull request entails and give them instructions on what specific parts you want their opinion.
If we decide we want to make additional changes to our recipe before merging the branch, we can alter the recipe in the cakes branch, the “Pull Request” will automatically recognise those changes and include them. I.e. you can continue to work on your branch and create new commits until you (or your collaborator) is happy with the “Pull request”.
To update your main branch, or as we say in Git: To merge your changes into “main” click on the button “Merge pull request”. This does not only update the content of the files in your main branch, but also adds all your commits from the “cakes” branch to the history of the main branch.
There are different options for merging your changes (i.e. different ways of organizing your commits when merging). You can view the options when clicking the dropdown arrow on the Merge pull request button. This is out of scope for now, but if you would like to learn more, checkout this blogpost.
Since all of our changes are now in the main branch, we can delete our ‘cakes’ branch. Navigate to the branch overview (from the main page of the repository > click ‘main’ > click ‘View all branches’) and click on the little trash can next to your ‘cakes’ branch.
Working with branches on your laptop
In the previous section we saw how to work with branches in the web interface. Assume now we want to make some changes on our laptop. How can we retrieve the information on branches and and switch to the branch we want to locally work on.
If you have not done so yet “clone” the repository to your computer:
git clone git@github.com:<user>/recipe-book.git
cd recipe-book
Now we create a new branch in the web interface, this time it will be “cheesecake”.
git pullWe can list all branches in the repository with
git branch -a

* main
  remotes/origin/HEAD -> origin/main
  remotes/origin/cheesecake
  remotes/origin/main
This command shows us also that the branch we are on is the main branch.
To switch between branches we use the command “switch”:
git switch cheesecakeAnd we can verify which branch we are currently on with
git statusExercise: Create and commit to the new branch
Add a cheesecake recipe to your local repository on the “cheesecake” branch
Commit the changes and push them
Verify in the web browser that the files in “main” and the “cheesecake” branch differ.
Merge the two branches in the web interface through creating a “Pull request”
Summary
In this part of the tutorial we saw:
- How to create branches in the remote repository through the web interface
- How we can update the content of branches
- How we can merge changes from one branch into another branch
Creating branches on your laptop
In the sections above we discussed how to create a branch in the remote repository on GitHub and then working with that branch on your computer in your local repository.
You can also create branches directly in your local repository on your computer.
Let us create a new cake recipe branch only in your local repository:
git branch applepie mainThe command creates a branch called “applepie” from the main branch and it is only available in your local repository (no “remotes” prefix)
git branch -a
  applepie
* main
  remotes/origin/HEAD -> origin/main
  remotes/origin/cheesecake
  remotes/origin/main
Now we can check this out and add an apple pie recipe
git switch applepieNow create a file “cakes/applepie.md” and add some ingredients and instructions.
git status

On branch applepie
Untracked files:
  (use "git add <file>..." to include in what will be committed)
    cakes/applepie.md
We need to commit our changes. Note, this time we only create the commit, we do not push to the remote repository:
git add cakes/applepie.md
git commit -m "adding applepie"
We could push now the new branch to our remote GitHub repository and follow the workflow above to merge the changes into the main branch. But in this example we will merge the changes in our local repository.
Merging the branch on your laptop
To merge changes from a development branch into the main (or another branch) you need to first switch to the target branch (the branch into which you want to merge). In our case we want to merge into main. So we need to switch again to the main branch:
git switch main
git status
Now we can merge “applepie” into main:
git merge applepie


Updating 2565755..ea932e4
Fast-forward
 cakes/applepie.md | 12 ++++++++++++
 1 file changed, 12 insertions(+)
 create mode 100644 cakes/applepie.md
Now we can “push” the changes of our updated main branch to the repository on GitHub and delete the applepie branch from our laptop:
git push
git branch -d applepie
git branch -a
Now verify in the web browser that your new apple pie recipe is present in the remote main branch.
Summary
In this part of the tutorial we showed:
- How to create a branch only in your local repository and how to update its contents
- How to merge the changes from the branch in your local repository into the main branch in your local repository
Issues
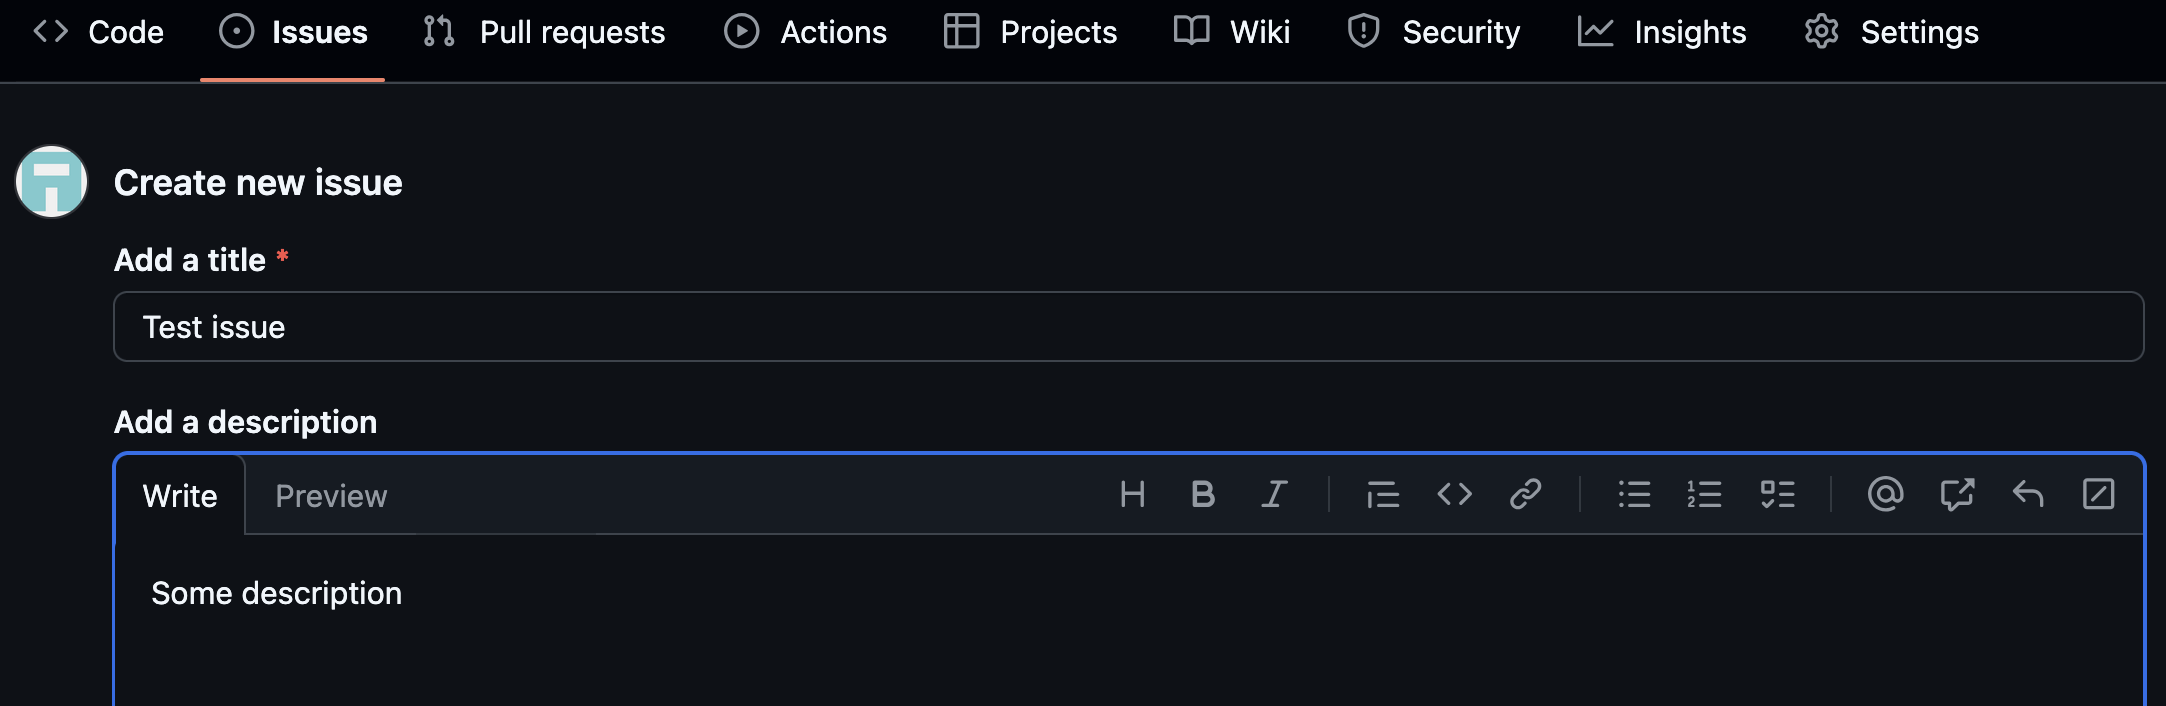
In GitHub users of your code or you yourself can create “issues”. An issue can be a feature request, a bug or simply a “Todo” for your project.
Click on the tab “Issues” and create one.
Once the issue is created, you can create a branch for it like we did beforehand:
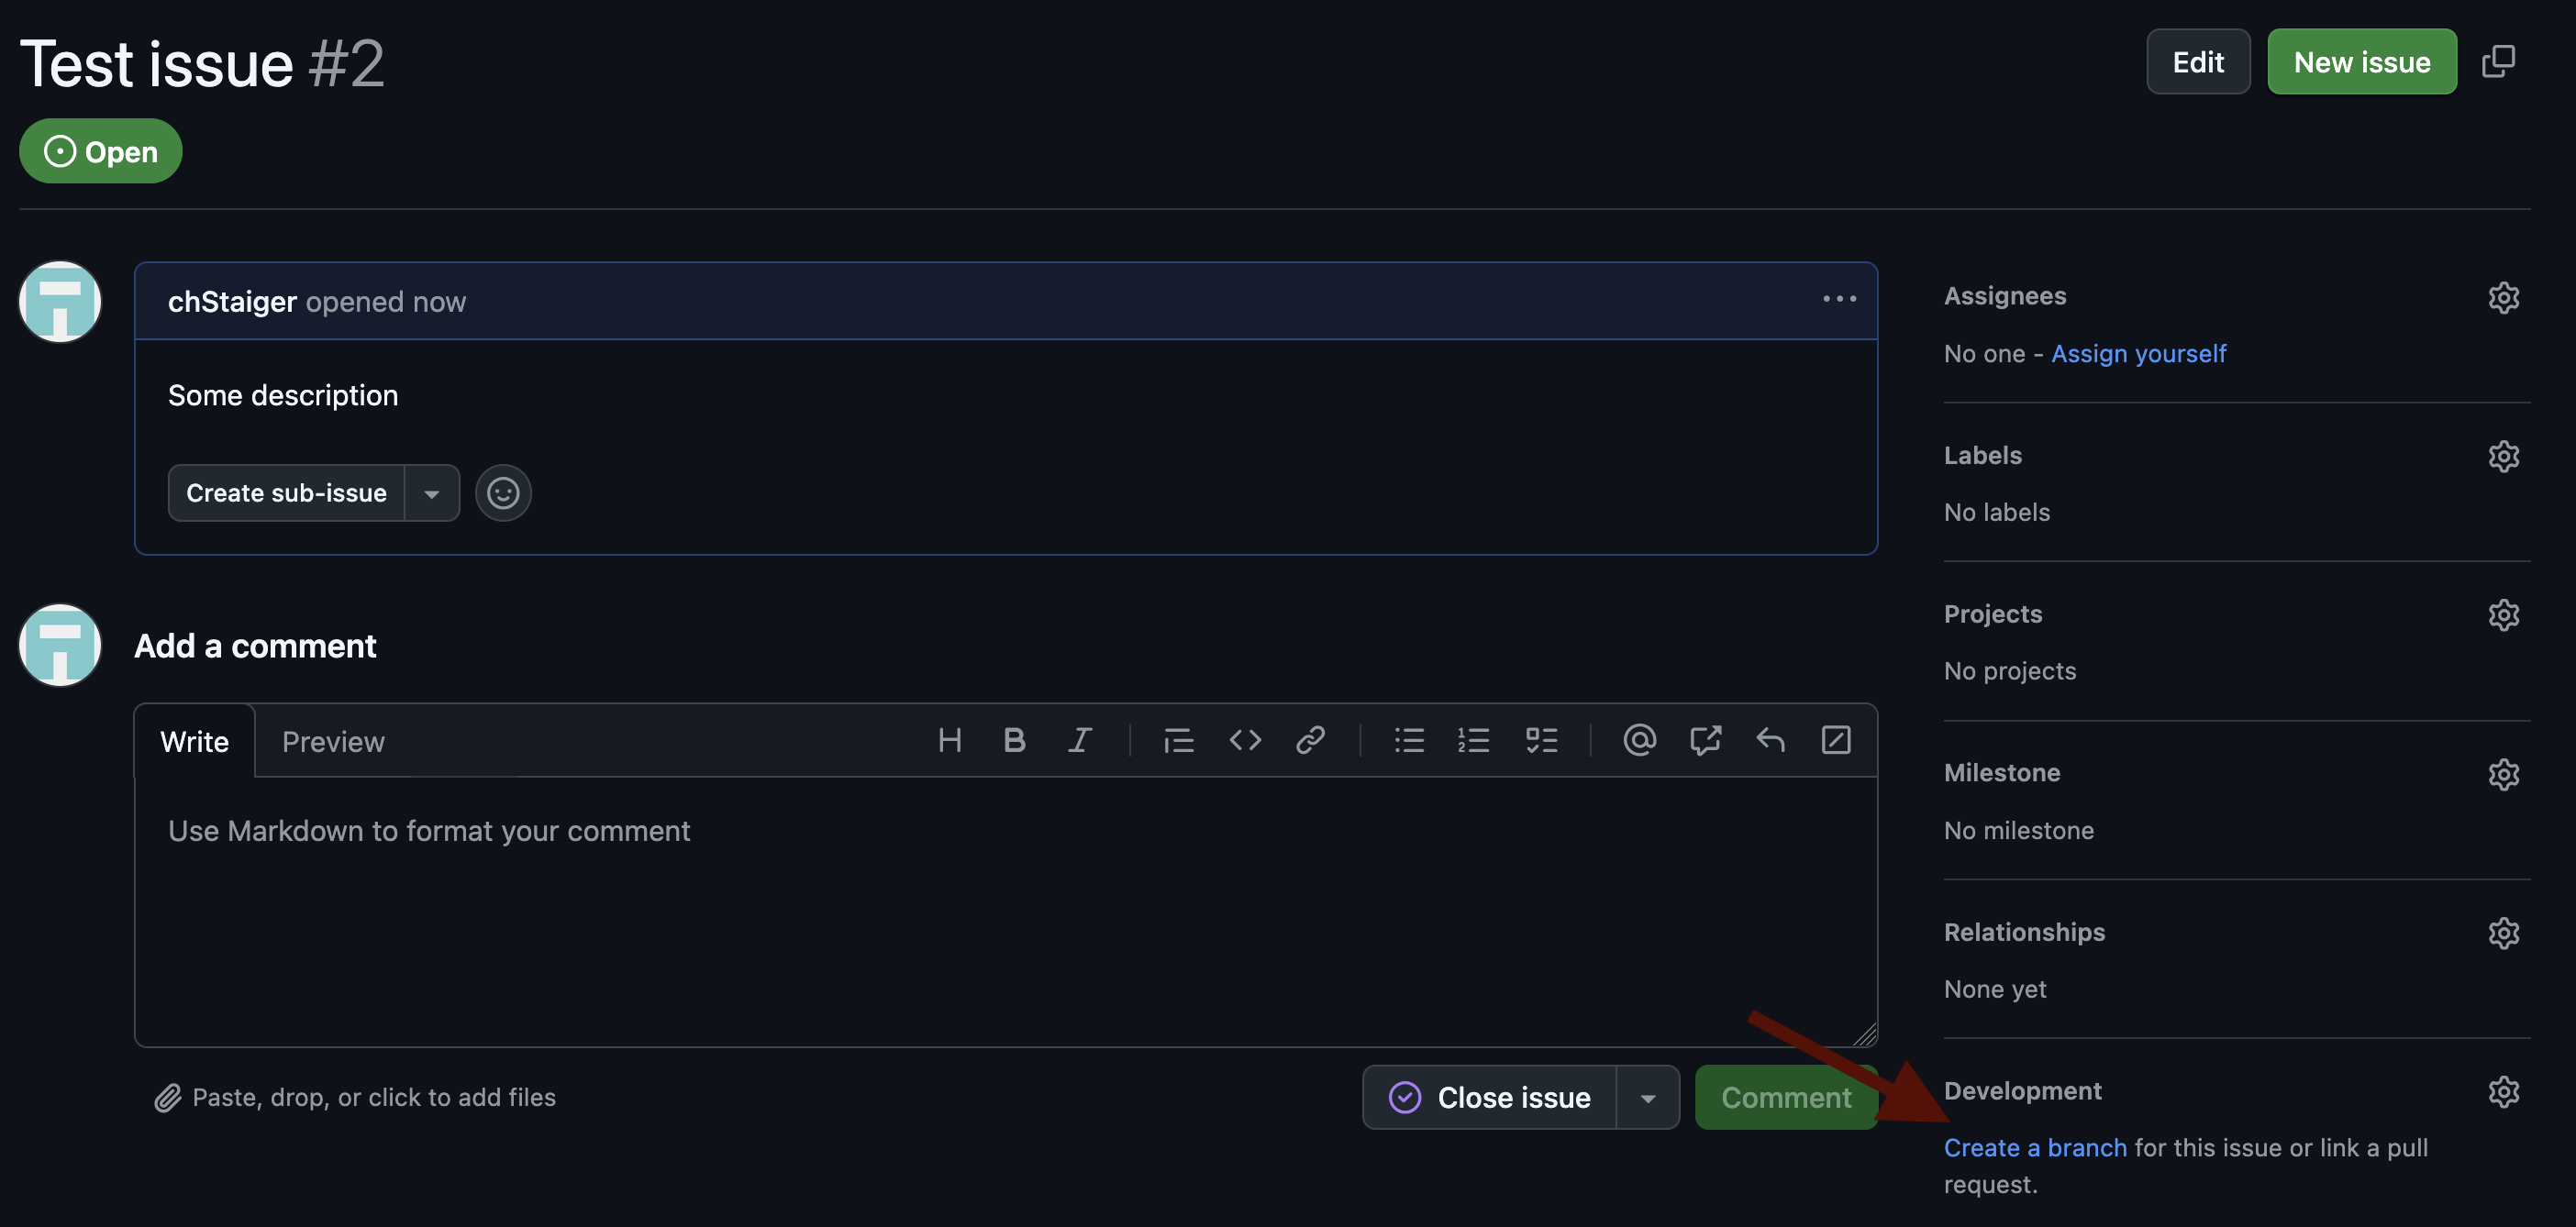
Once the branch tackling the content of the issue is merged, the issue will be closed automatically. Also any commits on the branch are shown in the description of the issue, which is very handy feature together with the commenting and by this having a discussion about the code.
Merge conflicts
Merge conflicts can occur when a file is changed in both of the branches that you want to merge. E.g. in the main branch you added an additional ingredient for your apple pie recipe, while in another branch you added another ingredient. Git will now not ‘know’ whether you want the resulting file to have one of the ingredients, or both, and if both in which order they should be listed. Therefore git will raise a merge conflict.

Let us create a merge conflict:
Create a branch “change_guacamole” from the main branch in the web interface of your remote recipe repository and edit in this branch the first line of the Guacamole recipe and commit it:

Now we also change the the first line of the same file in the main branch in the web browser and commit this one.

Now create a Pull request to merge the “change_guacamole” branch into the main branch. GitHub will complain that it does not know how to merge the two changed files.
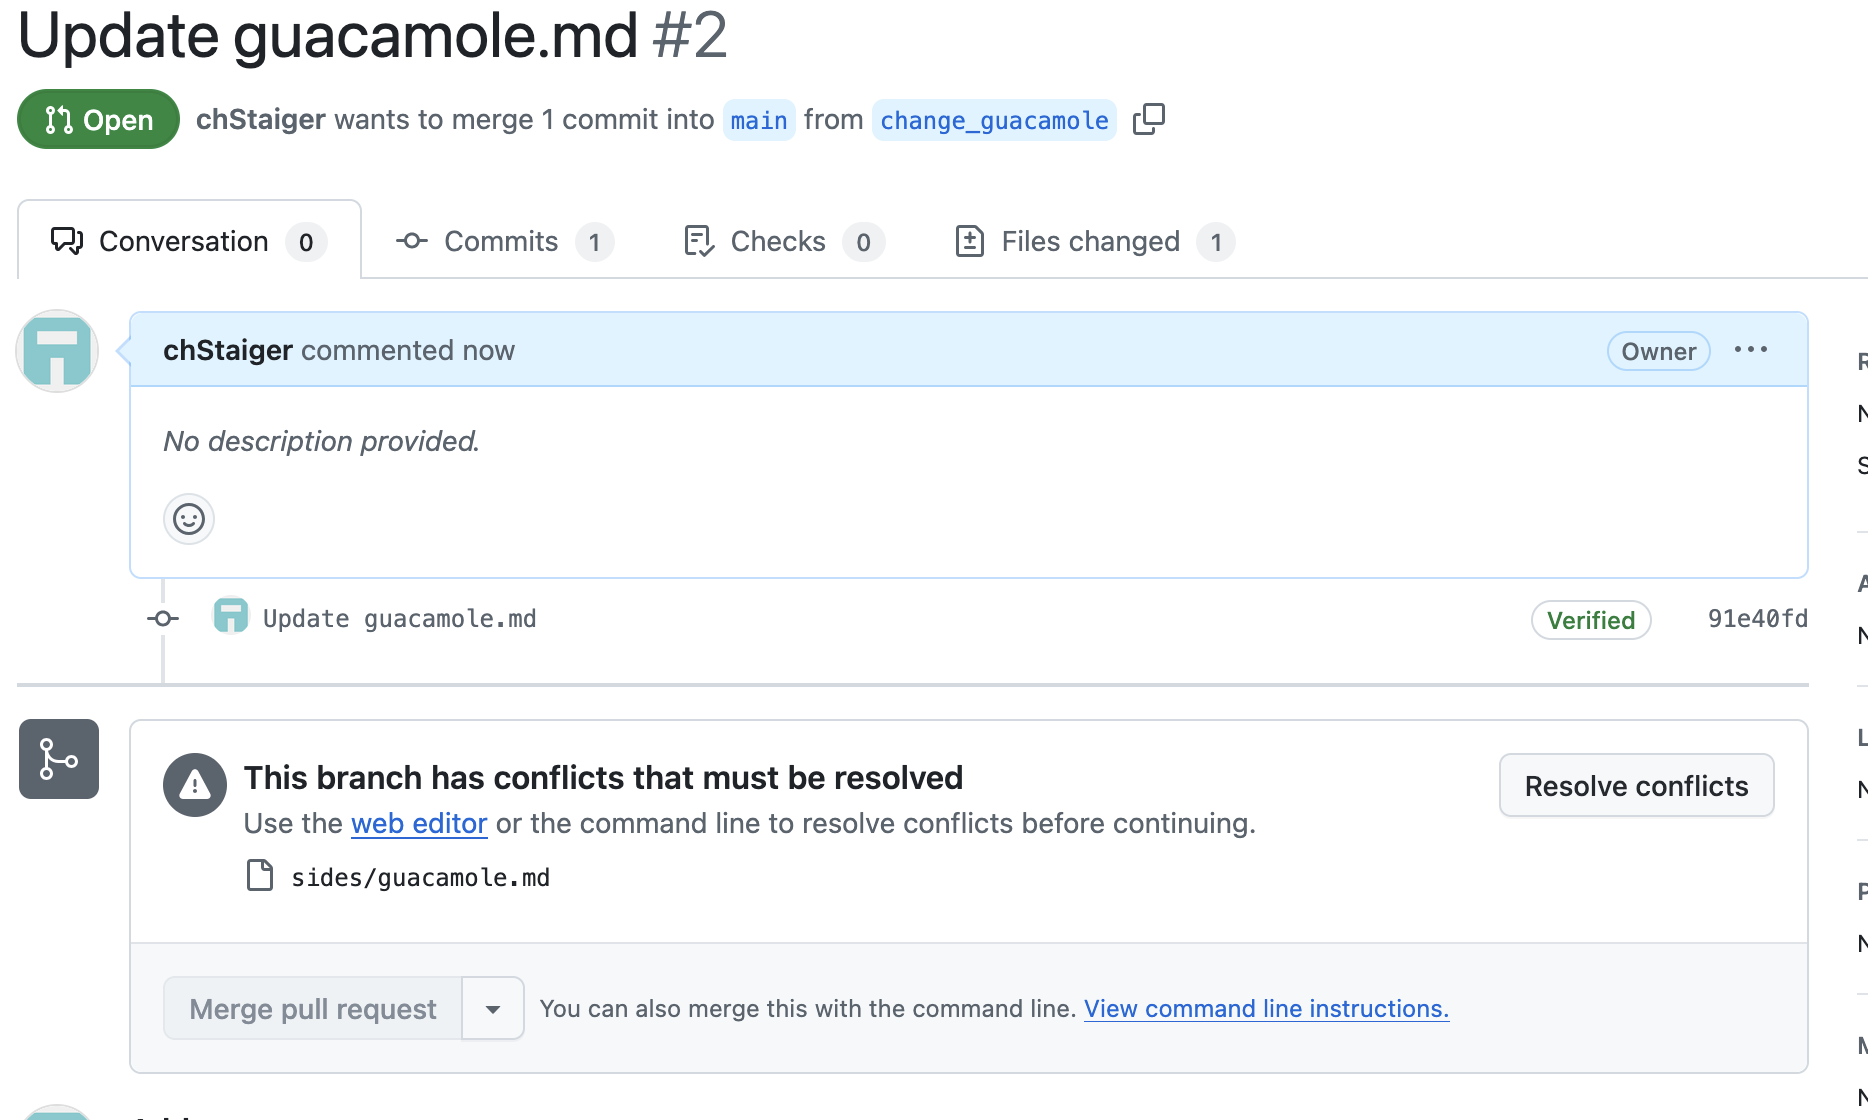
However, GitHub offers you a possibility to resolve those conflicts. Click on the button “Resolve conflict”. this will open an editor where you can adjust the file manually to how it should look like.

Git highlights the lines which cause the conflict and also gives information which version of the lines come from which branch. You can now edit the file: Delete the line that you don’t want as well as all the lines that Git created to indicate the merge conflict. Click ‘Mark as resolved’ and commit it by clicking “Commit merge”.
Finally we can finish our Pull request by merging.
Solving merge conflicts can also be done on your laptop. In that case you have to open the file where the conflict is with an editor and resolve the conflict in a similar way. Some code editors (such as VSCodium) even have functionality to select the lines you want to keep and remove the rest with a single mouse click. Find the whole procedure here.
Presenter slides
References
CodeRefinery, Introduction to version control with Git