Using iBridges on SURF Research Cloud
The instructions below describe how to setup iBridges to transfer data between SURF Research Cloud and Yoda or any other iRODS instance. It is possible to use iBridges in three different ways:
- as a python package
- via the command line interface (CLI)
- via the graphical user interface (GUI)
Using any of the three methods you can safely and easily transfer large amounts of data between Yoda and your Research cloud workspace.
The python package and the command line interface are available (or can be made available) on all workspaces while the graphical user interface will only work on ‘Desktop’ workspaces, i.e. workspaces where you will have a Windows or Linux (e.g. Ubuntu) Desktop.
Prerequisites
Access to Yoda or another iRODS instance which hosts your data.
iBridges needs to be installed on your workspace. Most workspaces developed by Utrecht University (such as Python and R workbenches, VRE Lab) have iBridges preinstalled. On workspaces developed by SURF, ibridges may need to be installed by the user.
- If you are working on a Desktop workspace, you can check by logging in to your workspace, clicking ‘applications’ in the top left corner, and clicking ‘Development’.
- On non-desktop workspaces check if iBridges is installed by typing:
ibridgesin the terminal. If iBridges is installed, this should show you the program’s help menu. On Jupyter or Rstudio workspaces, you need to open a terminal first: In Jupyter, click the + button in the file browser and select the terminal in the new Launcher tab (find a short video here). In Rstudio, In the bottom left panel, click the ‘terminal’ tab.
What shall I do if iBridges is not on my workspace?
If your workspace has python installed, you can install the packages using the command line (or aka terminal):
pip install ibridgesguiTo start the GUI application you would then need to open a terminal and type in ibridges gui (Note: this will only work on Desktop workspaces).
If you run into problems with running ibridgesgui, try running sudo apt install libxcb-cursor0 in the terminal and then running ibridges gui again. Please contact us if you need help with installing iBridges or if you want to have iBridges preinstalled on your workspace.
uv tool install ibridges
# OR
pipx install ibridges
ibridges will then be installed. However it is possible that you may need to run pipx ensurepath to make it available on your path and restart your terminal before you can use the ibridges command.
Please contact us if you need help with installing iBridges or if you want to have iBridges preinstalled on your workspace.
Configure iBridges
To connect to a Yoda or any other iRODS instance you will need a so-called irods_environment.json which needs to be stored in a specific location. You can create this file by hand or use the iBridges GUI or CLI to create it for you.
Configuration through the GUI
- Open the GUI
- Windows: Go to the Main Menu and search for or click on the tile
ibridges - Linux: Go to Applications –> Development –> iBridges
- Windows: Go to the Main Menu and search for or click on the tile
- From the main menu click ‘Configure’ –>
Add Configuration. Click on the template you want to use, fill in your user name and save the file asirods_environment.jsonin the suggested.irodsfolder.
If there are no templates in the drop-down menu of the configuration window, you will need to install the plugin. To this end you will need python and git and execute in power shell, git bash or Anaconda terminal:
pip install ibridges-servers-uuConfiguration through the CLI
If you want to connect to a server hosted by Utrecht University please check whether this information is already present for ibridges.
ibridges setup --listFrom that list simply choose the server you want to connect to with ibridges setup uu-<server> and follow the instructions. In case you get the message No server information was found. please install:
pip install bridges-servers-uuHow to connect to a Yoda or iRODS instance not provided by Utrecht University?
In this case you will have to create your irods_environment.json by hand:
In order to know with what server iBridges should connect, a so-called iRODS environment file must be present in your home directory.
You may need help from your datamanager or contact Yoda support to obtain the information needed for the config file.
Go to your home directory and create a hidden directory called ‘.irods’:
cd ~
mkdir .irods
cd .irods
In this directory, create a file named irods_environment.json.
touch irods_environment.jsonEdit the file using a text editor such as nano or vim:
nano irods_environment.jsonFor information about Yoda servers hosted by Utrecht university go to the yoda website, scroll to Step 2. Configuring iCommands and copy and paste the text belonging to your institution in the file (similar to the file below) and change the email address next to irods_user_nameto your yoda user name (typically your uu email address).
{
"irods_host": "science.data.uu.nl",
"irods_port": 1247,    "irods_home": "/nluu6p/home",
"irods_user_name": "exampleuser@uu.nl",
"irods_zone_name": "nluu6p",
"irods_authentication_scheme": "pam",
"irods_encryption_algorithm": "AES-256-CBC",
"irods_encryption_key_size": 32,
"irods_encryption_num_hash_rounds": 16,
"irods_encryption_salt_size": 8,
"irods_client_server_negotiation": "request_server_negotiation"
}
The list of Yoda servers hosted in the Netherlands by SURF can be found here. For all other iRODS or Yoda servers please contact your service provider.
For a more extensive tutorial, see
Using iBridges
To use iBridges on Yoda hosted by Utrecht University you will need a data access password.
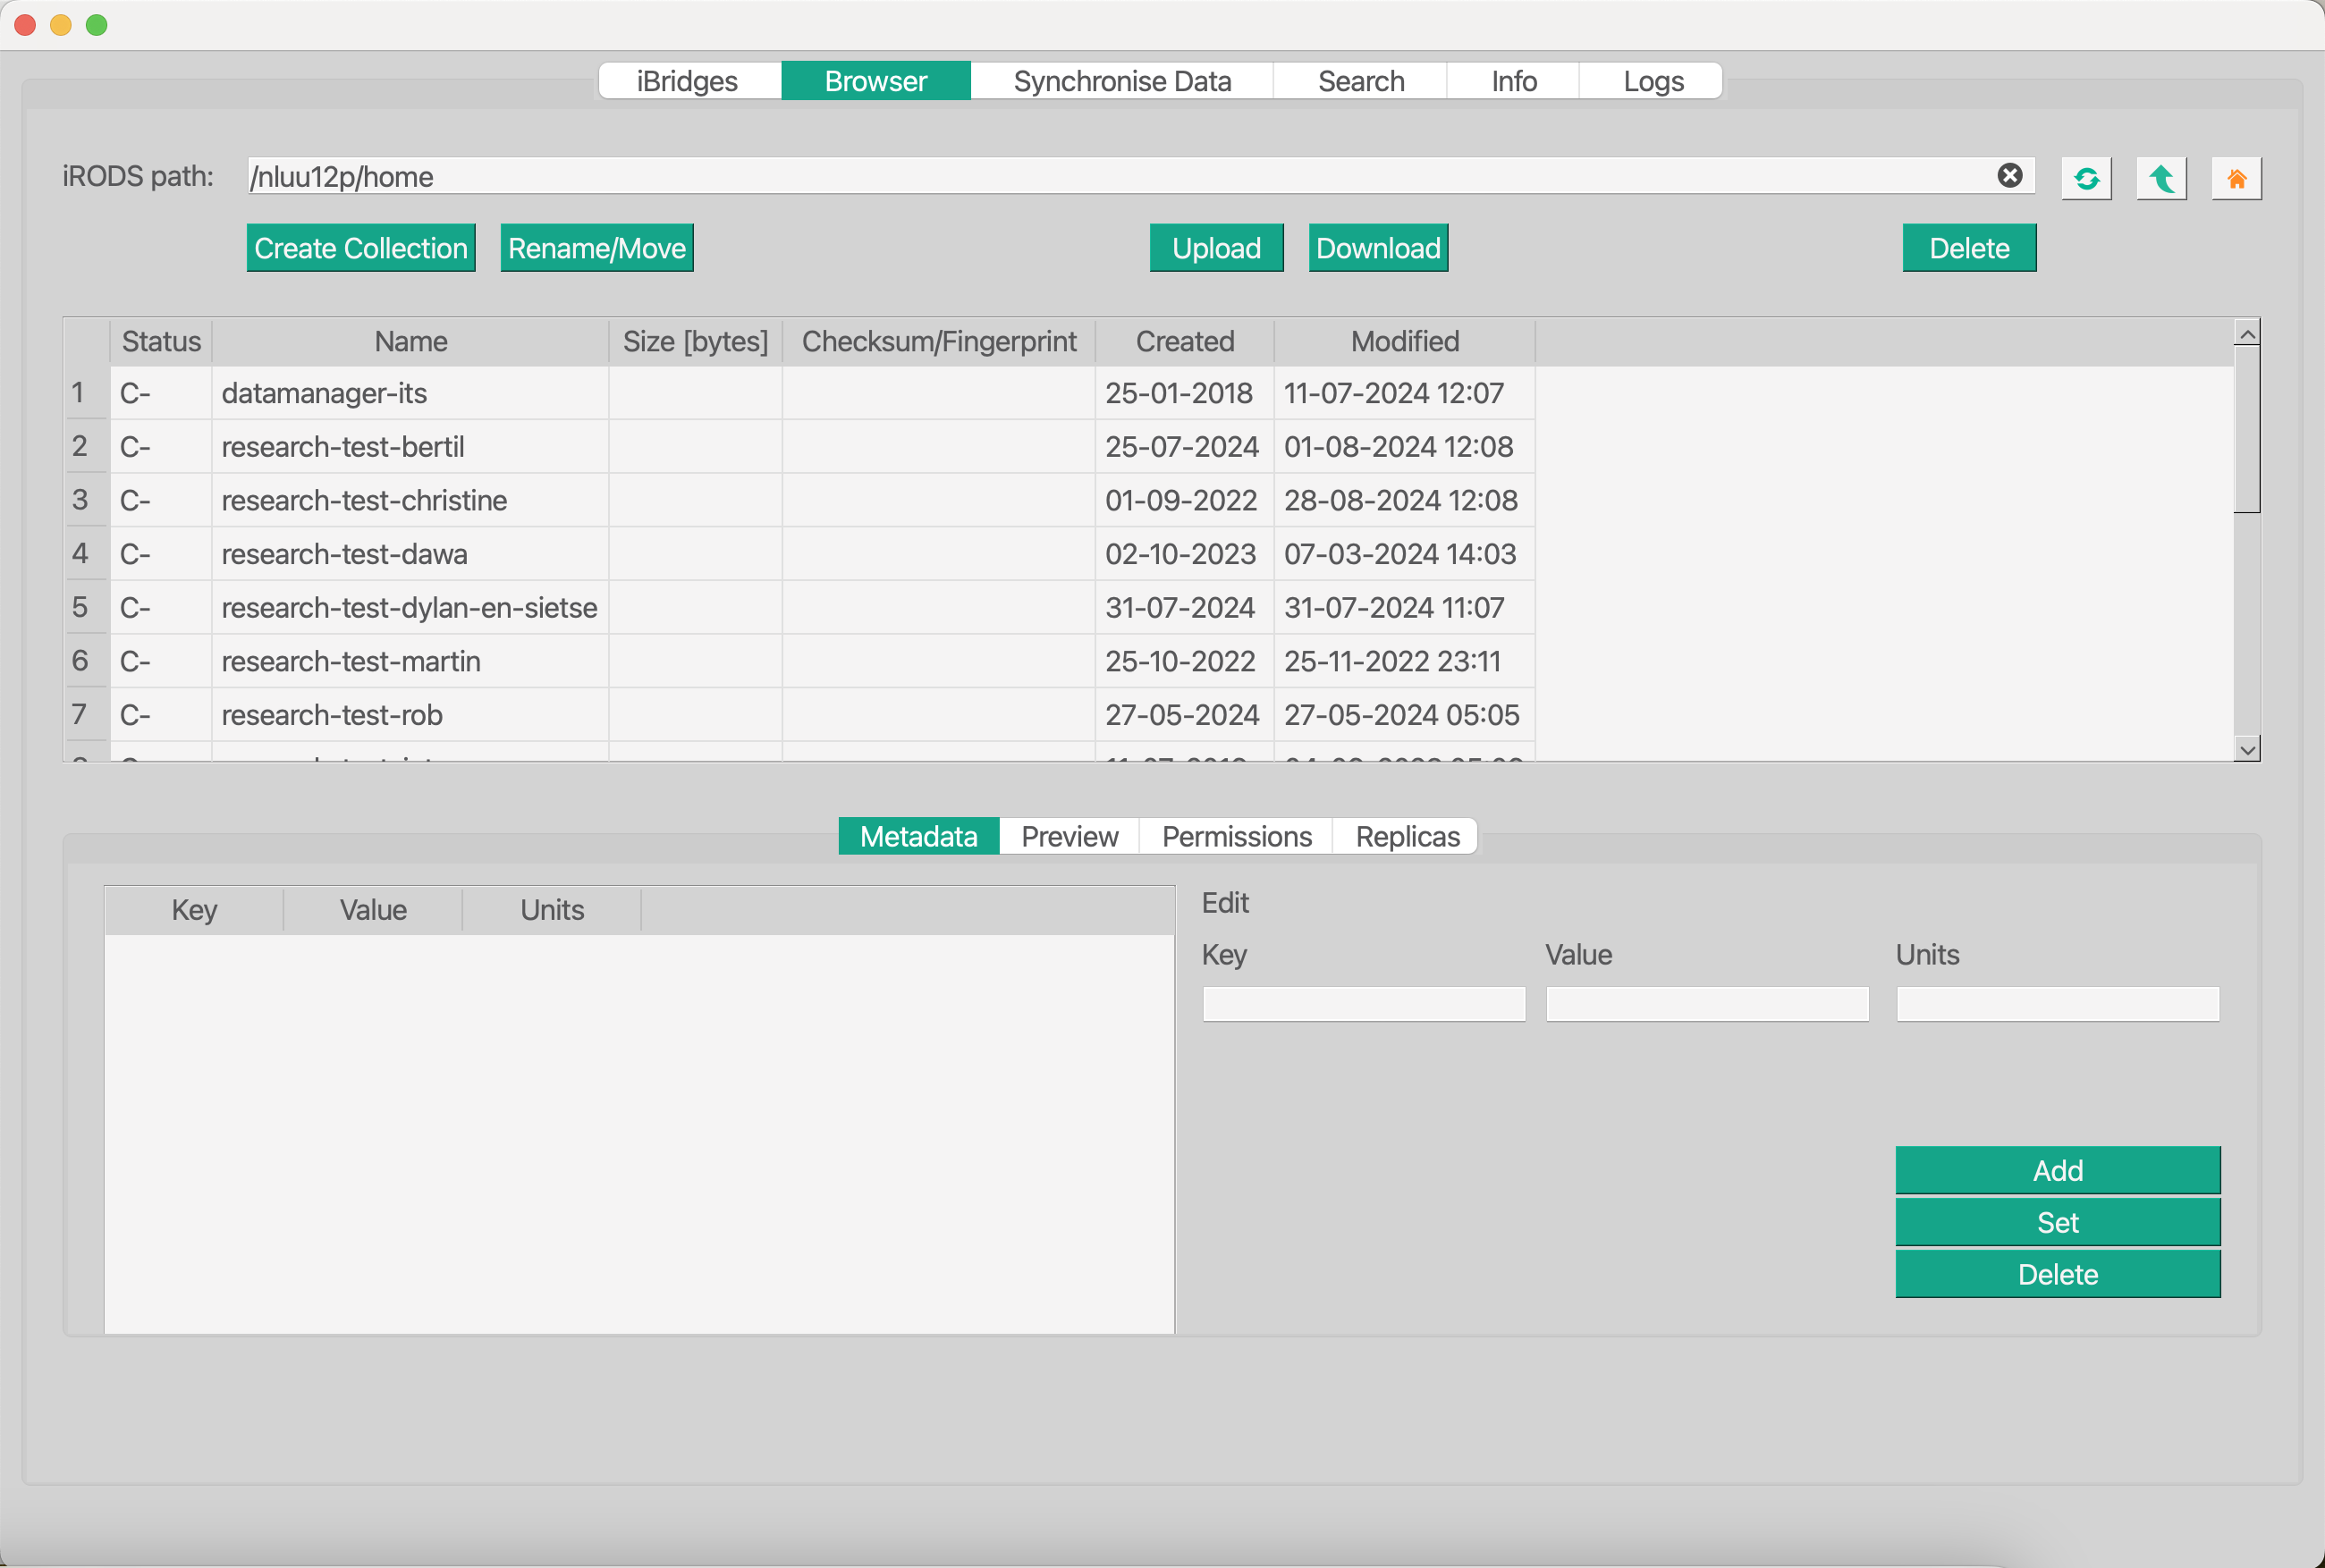
Graphical user interface
Once you have an irods_environment.json, click on Connect –> Connect to iRODS, choose your irods_environment.json and provide your data access password.
More elaborate instructions can be found in the iBridges GUI documentation.
Command line interface
Simply try ibridges --help or ibridges <command> --help to get examples and help for the usage.
For instructions on how to use the ibridges command please see the iBridges CLI documentation.
Using the python package
We offer tutorials in form of Jupyter notebooks to show you the capabilities of the ibridges python package.
For more information please see the iBridges documentation